This will be the final devlog for this project. Whilst the final product is not really a game, it is a fun “experience” that has given me a taste of virtual reality development. A-Frame has been really fun to use and it can only get better. I think that web-based VR experiences absolutely have a place and I’d imagine we’ll see more google cardboard icons (to launch VR mode) on websites in the future.
I’ve implemented quite a lot of stuff for this final devlog.
Compass
The compass is something that existed way back in devlog #1 but I removed it to focus on other elements. I’ve put it back and improved its appearance ever so slightly. Its a good way to keep your bearings, especially in the new larger map.
The compass also acts as the trigger for opening and closing the inventory.
Inventory
I’ve overhauled the inventory slightly to only render items once the panels are fully extended. The inventory now also shows smaller items to make selection easier. It’s generally more robust in its handling.

Items
Items are now driven by the JSON map data so its easy to place them in any room.
The process for creating a new item currently looks like this:
- Create a model using MagicaVoxel and export as an “obj” file
- Import the “obj” file into Blender in order to export it as a collada (dae) file (I had issues texturing obj files in v1 of A-Frame but its unlikely you’d face this issue now and could just use “obj” files directly)
- Define the assets in A-Frame
- Create an entity, and figure out the position/rotation for the object when its in the player’s hand
- Add the item to the JSON map data to specify where it should appear
The code takes care of rendering the item in the correct room and the inventory.
I also created a new shield item :)

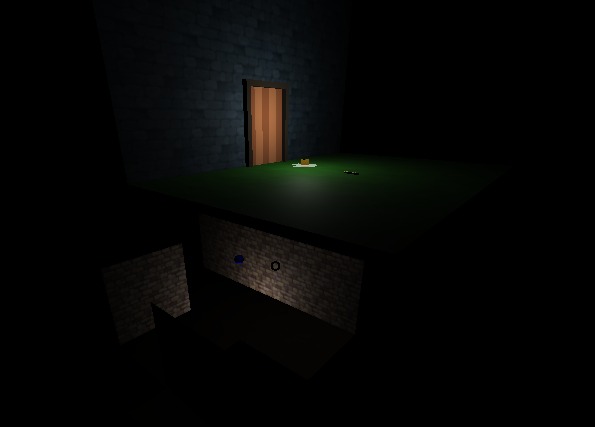
A new area

I’ve created a new area outside of the dungeon. This is where the player first enters the experience and is intended to teach the basics. Rather than implementing lots of text, I’ve hopefully created a simple enough area that the player can intuitively experiment to figure out the controls.
In this area, the player needs to find the key, select the key from the inventory, and gaze at the door to enter the dungeon.
This area is kept separate from the JSON map data and is in fact rendered above the dungeon. Here you can see through the smoke and mirrors :)
A new map
I’ve created a new, much larger map for the final experience. This is all defined using JSON and, since I haven’t yet created a level editor, its fairly laborious to create. Hopefully the new map is a much more guided experience. It doesn’t have an exit, its just a larger dungeon with a few items that can be collected.
What’s next?
That’s it for this series. Cardboard Dungeon is complete for now. I’ll definitely be checking in on A-Frame regularly and I can certainly see myself using it again. For now though, I’m moving on to some Virtual Reality experiments with Unity (with any luck my HTC Vive will arrive soon :) )
You can read the full series of weblog’s here:
- Cardboard Dungeon Devlog #1
- Cardboard Dungeon Devlog #2
- Cardboard Dungeon Devlog #3
- Cardboard Dungeon Devlog #4 – You are here!
Play Cardboard Dungeon
OR
(Scan this QR code with your phone to launch it directly on your device)
![]()